How to Clean Headlights at Home and Restore Clear Visibility
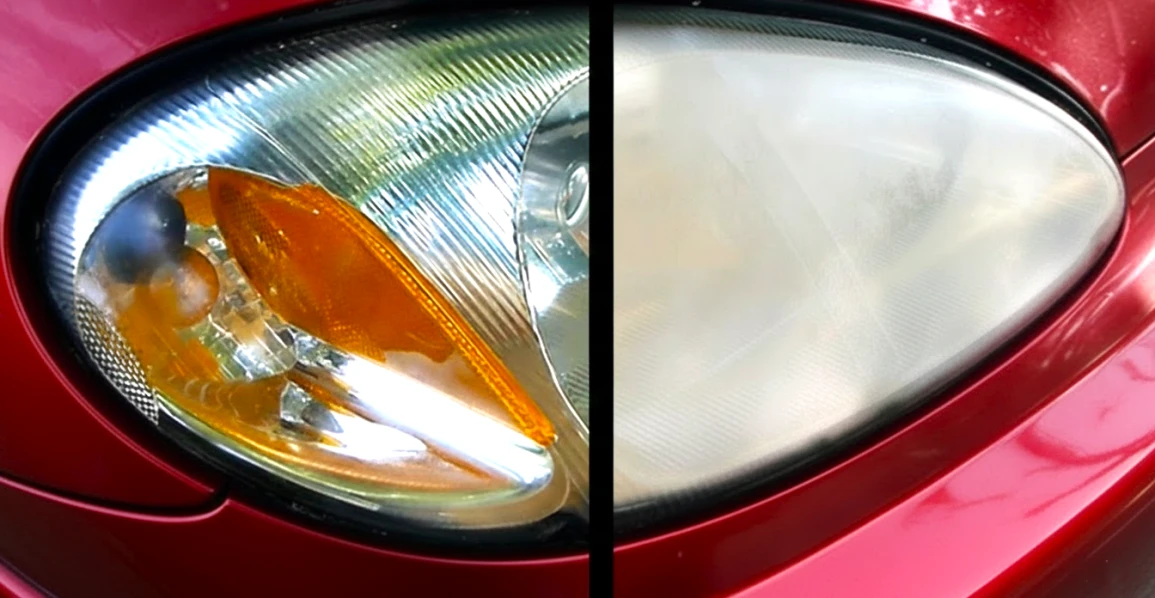
Even the best headlights lose their shine and clarity over time. The plastic becomes dull, yellowish, and covered with tiny cracks. Dirt, road dust, and chemicals build up on the surface, slowly eating into the top layer. This reduces light output and makes the front of the car look neglected. When headlights aren’t cleaned regularly, the beam becomes scattered, the focus weakens, and night driving safety decreases.
Many drivers think the only way to restore clarity is to visit a repair shop, but that’s not true. There are several simple and affordable ways to clean headlights at home. With the right technique and a bit of patience, the results can look nearly as good as professional polishing.
Why Regular Cleaning Matters
Headlights are not just a source of light but a key component of a vehicle’s active safety system. Their condition directly affects how early a driver can spot a pedestrian, a road sign, a pothole, or an unexpected obstacle on the road. In the dark, as well as in rain, fog, or snow, even slight clouding of the headlights can significantly reduce visibility and increase the risk of an accident.
Over time, dust, road grime, chemical reagents, insect residue, and microcracks accumulate on the headlight surface. The plastic loses its transparency, light begins to scatter, the beam becomes blurred and less focused, and the illumination range is noticeably reduced. As a result, the driver has a harder time navigating the road, while oncoming vehicles may be affected by unpleasant glare and reflections.
Clean and clear headlights are important not only for safety but also for the overall appearance of the car. Well-maintained optics visually “refresh” the vehicle, making it look neater and more modern, even if it is several years old. Quite often, cloudy headlights create an impression of neglect, even when the car is technically in excellent condition.
Regular headlight cleaning also serves a protective purpose. It helps preserve the factory protective coating of the plastic, reduces the risk of deep scratches, and slows down material degradation caused by ultraviolet exposure. This directly affects the lifespan of the headlights and allows you to avoid restoration or replacement for a longer time.
Finally, timely maintenance is an effective way to prevent costly procedures. When headlights are kept clean and in good condition, there is no need for aggressive sanding, polishing, or purchasing new lenses. Simple, regular care saves time and money while helping maintain the highest level of road safety.
Causes of Headlight Clouding
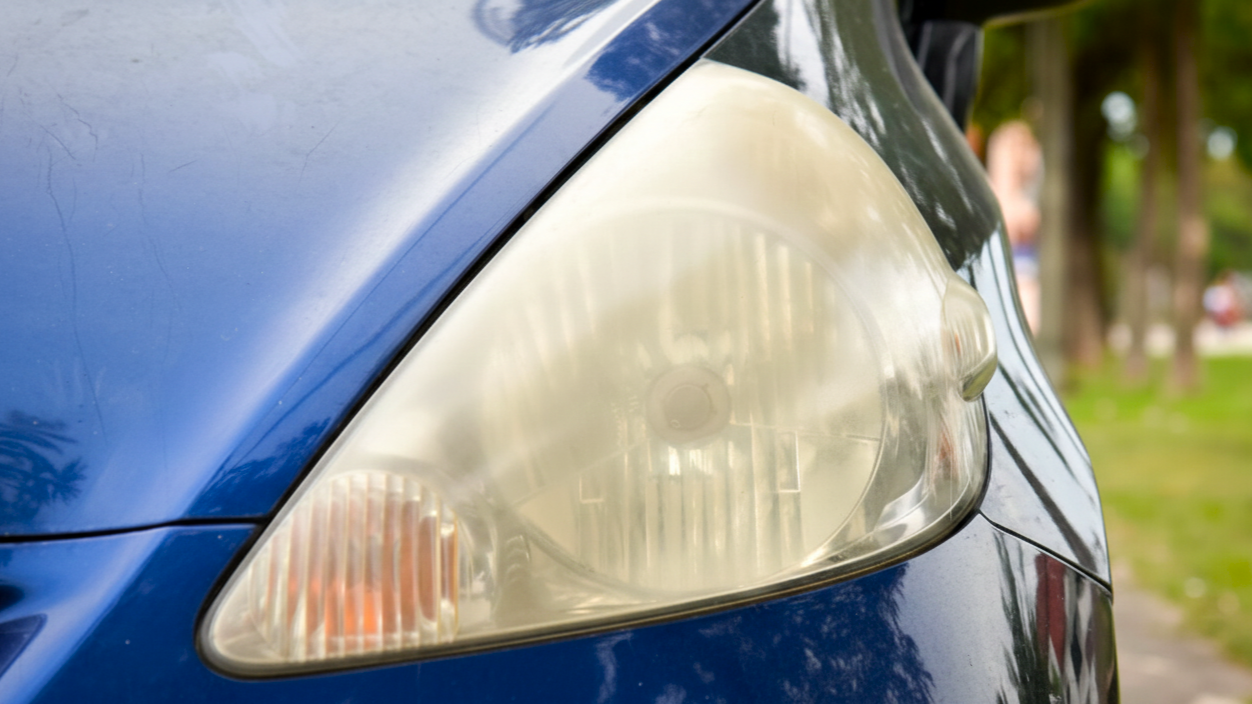
To effectively restore headlight clarity and maintain the results over the long term, it is important to understand why headlights lose their original appearance in the first place. Clouding of the optics is not an instant process but the result of prolonged exposure to several factors that gradually damage the protective layer and the plastic itself.
- The primary and most aggressive factor is ultraviolet radiation. Under constant exposure to sunlight, the factory-applied protective coating on headlights gradually thins and breaks down. Once this barrier is gone, the plastic is left unprotected, begins to oxidize and yellow, and loses both its transparency and its ability to transmit light properly.
- Another common cause is road dirt and chemical agents. Dust, grime, salt, and de-icing chemicals do not simply settle on the headlight surface; they can chemically react with the plastic. As a result, a dense, cloudy film forms, which is difficult to remove with regular washing and gradually reduces light transmission.
- The third factor is mechanical impact. While driving, headlights are constantly exposed to a “sandblasting” effect from small stones, sand, salt, and ice particles. These elements create microscopic scratches and surface irregularities, forming a rough texture. When light passes through such a surface, it scatters, becomes less focused, and loses its directional clarity.
- Finally, natural wear of the protective layer cannot be ignored. Even with careful vehicle use, plastic ages over time, losing its elasticity and transparency. As a result, headlights inevitably appear duller than they did on the day the car was purchased.
This is why starting regular headlight care as early as possible is so important. Timely cleaning and protection help slow down aging processes, preserve the factory appearance of the optics, and avoid complex and costly restoration procedures in the future.
What to Prepare Before Cleaning
Before learning how to clean headlight lenses, it’s important to prepare properly. Careful preparation ensures a smooth process and helps prevent scratching.
You’ll need:
- water and car shampoo to remove initial dirt and dust;
- a soft cloth or microfiber towel;
- painter’s tape to protect the surrounding paint;
- polishing paste or regular toothpaste with mild abrasives;
- a sponge or wipes to apply and remove the product.
Experienced detailers recommend washing the entire front of the car before working on the headlights. Even tiny dust particles left on the surface can scratch the lens during polishing.
Step-by-Step Guide: How to Clean Headlights
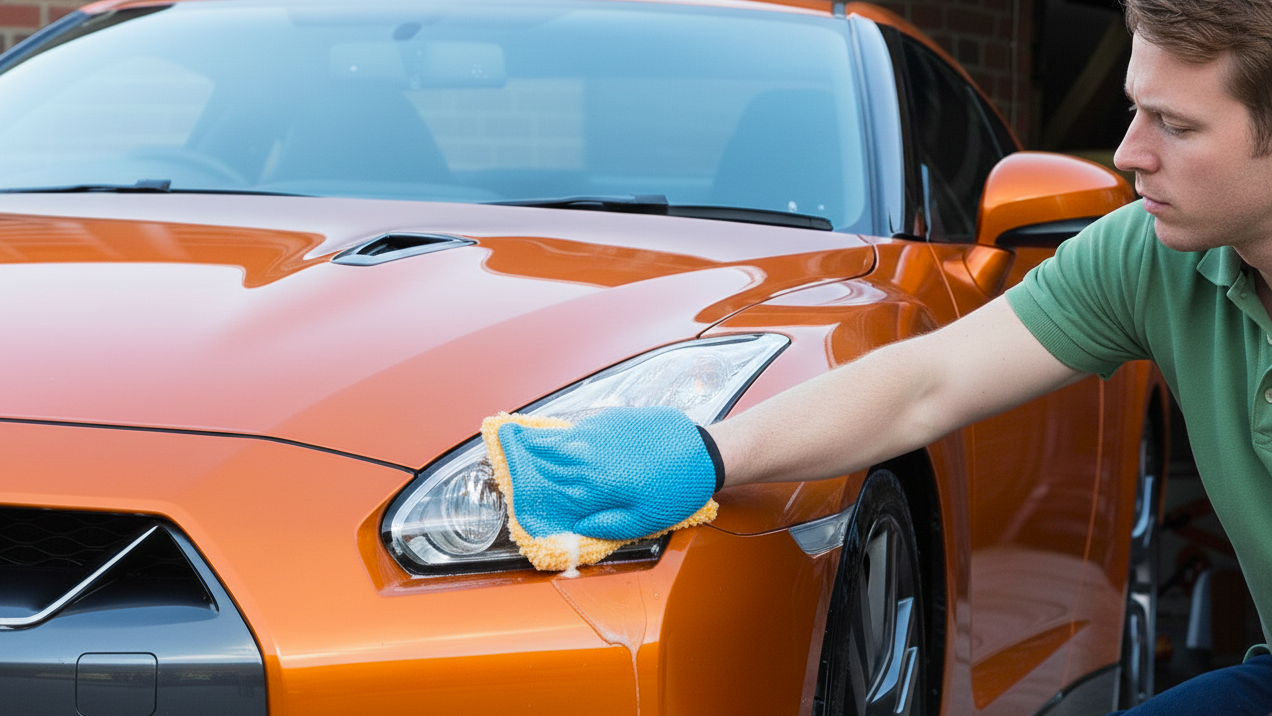
- Wash the headlights thoroughly with shampoo and water.
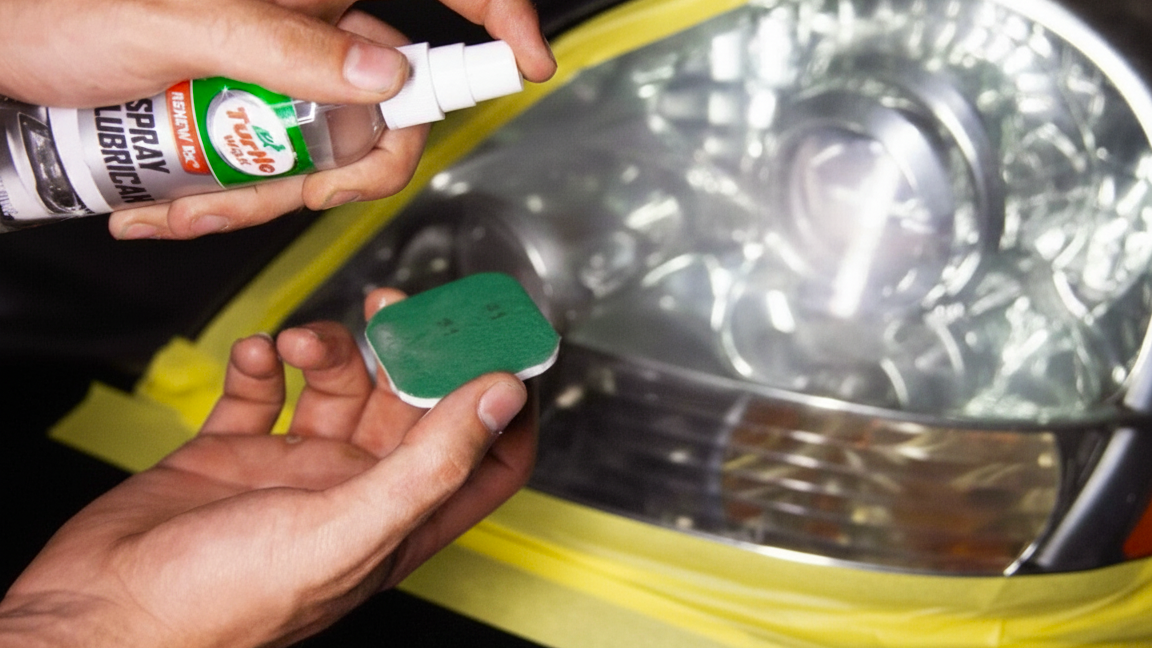
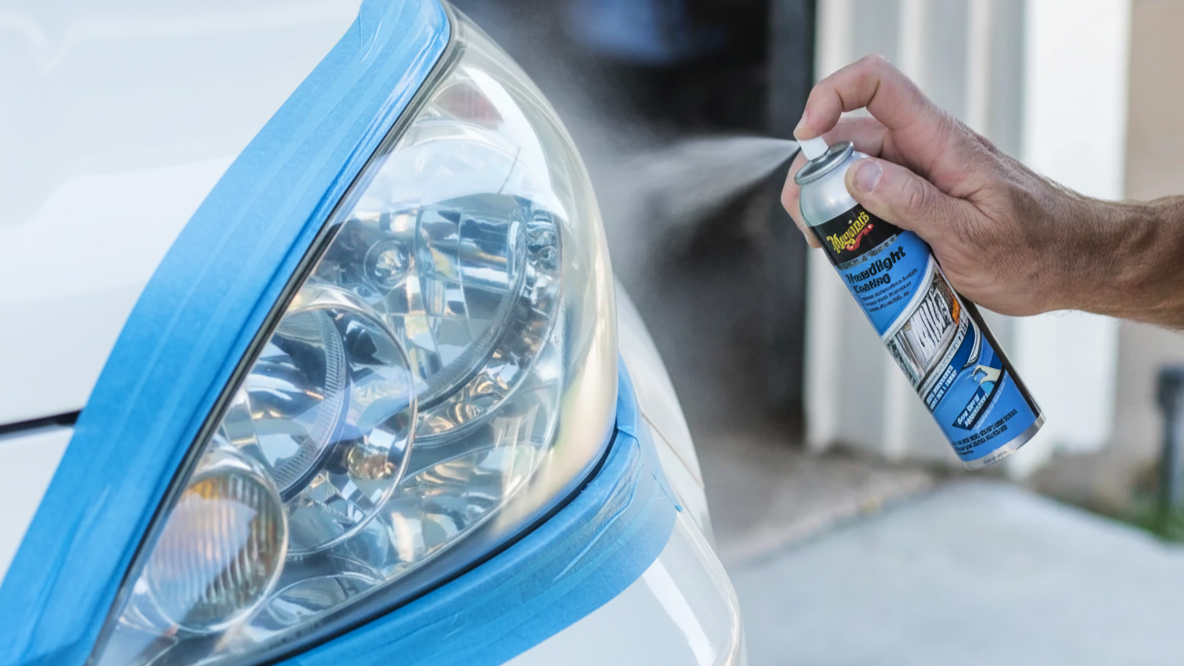
- Tape off the area around the headlights with painter’s tape to protect the paint.
- Apply the cleaning compound evenly over the surface.
- Polish the headlights using circular motions with light pressure for 5–10 minutes.
- Rinse off the remaining paste with clean water.
- Dry the surface completely.
- Apply a protective coating such as wax or a clear sealant to preserve clarity.
This simple DIY method allows you to restore shine and keep it for several months.
Alternative Cleaning Methods
Classic manual headlight cleaning remains a universal and affordable maintenance method and delivers good results in most cases. However, when headlights show significant clouding, yellowing, or visible scratches, it is worth considering more effective and specialized restoration methods that help restore clarity and improve lighting performance.
- One of the most popular options is ready-made headlight restoration kits. These typically include abrasive compounds of varying grit levels for step-by-step surface treatment, polishing pads or wipes, and protective coatings applied at the final stage. Such kits allow you to gradually remove the oxidized plastic layer, smooth out microcracks, and create a protective film that slows down future clouding.
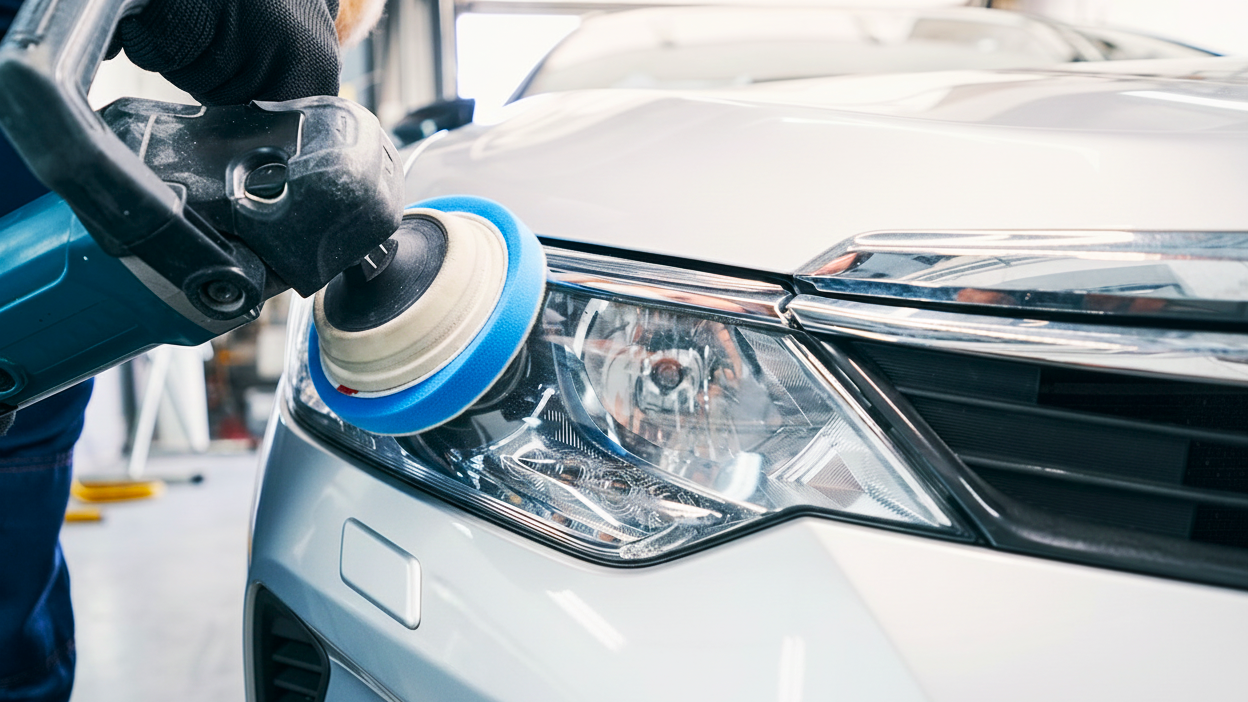
- A more professional approach involves using a polishing machine with a soft or medium-density pad. This method significantly speeds up the process and ensures even treatment across the entire headlight surface. However, it requires care and basic experience: incorrect speed settings or excessive pressure can overheat the plastic or damage the protective layer. For this reason, this method is better suited to those who already have experience polishing vehicle paintwork or optics.
- For minor dirt and light haze, household solutions can also be effective. For example, a mixture of baking soda and vinegar helps remove surface film, dirt residue, and restore shine. This method is not intended for deep restoration but works well as a quick maintenance solution or preventive cleaning.
The choice of method always depends on the degree of headlight clouding. If the surface has only slightly lost its shine and is covered with light haze, gentle manual polishing is sufficient. If the plastic is noticeably yellowed, matte, or shows signs of wear, the best solution is to use a dedicated restoration kit or machine polishing followed by protective treatment.
What Not to Do When Cleaning Headlights
Trying to speed up the process with aggressive methods can easily damage the plastic. To avoid costly mistakes:
- do not use solvents or acetone — they can melt the lens and leave white marks;
- avoid steel wool or sandpaper unless you have experience;
- don’t leave polishing paste on the surface too long — it can etch the plastic;
- avoid working in direct sunlight — the compound dries too quickly and can stain.
A gentle, patient approach gives better results and keeps the lenses intact.
How to Protect Headlights After Cleaning

Once you’ve figured out how to clean plastic headlights, the next step is protection. Unprotected plastic will quickly oxidize again.
- Apply wax or a UV-protective sealant to the lens. This layer reflects sunlight and shields against road chemicals.
- Whenever possible, park in shaded or covered areas to minimize UV exposure.
- Clean your headlights during regular car washes to keep dirt from building up.
- Repeat the cleaning every 3–6 months, especially after winter when road salt and chemicals are common.
When to Call a Professional
Sometimes even thorough home cleaning isn’t enough. That doesn’t mean you did anything wrong — the damage might simply be too deep. If the headlights are badly scratched, unevenly yellowed, or completely dull, professional restoration is the best option.
- Detailing specialists use multi-step processes unavailable in a home garage. First, they sand the surface with fine-grit sandpaper to remove the damaged layer. Then they polish the lens using professional compounds, restoring its original clarity.
- Finally, they apply a durable UV-resistant clear coat or protective polymer that can last 12–24 months.
- If there are deep cracks, chips, or internal moisture, restoration might require partial disassembly and resealing. Professionals have the tools and expertise to return the lens to factory clarity without damaging components.
For modern projector or xenon headlights, professional service is especially important. These systems are more delicate, and incorrect cleaning can distort the beam pattern or blind oncoming traffic.
Conclusion
Regular care helps maintain clarity and ensures better visibility at night. Knowing how to clean headlights can save you money on polishing or replacement. Simple steps, like learning how to clean headlight lenses, keep your headlights bright year-round.
If regular maintenance isn’t enough and diy clean headlights methods don’t work, it’s safer to rely on professionals. But in most cases, a timely cleaning routine and a basic understanding of how to clean plastic headlights will keep your lenses clear for years to come.
