How to Change a Tire Safely: Step-by-Step Guide for Drivers
A dull thud, followed by a growing vibration and the steering wheel pulling to one side-this is how a car communicates a loss of tire pressure. A puncture can happen to anyone, at any time, on any road. The consequences range from disrupted plans to real danger on a high-speed motorway. In such a situation, a driver has two choices: wait for help for hours or spend 15 minutes and solve the problem independently.
Mastering the skill of changing a tire is a fundamental competency for any responsible driver, providing independence and confidence. Even if you've never had to use it, this knowledge could one day be crucial. In this guide, we will break down the action algorithm in detail and explain the logic behind each step, so you can understand how to change a tire correctly and safely, even if you've never held a jack before.
Preparing for the Unexpected: Your Trunk Arsenal
The success of any roadside operation is determined by preparation. To ensure a flat tire doesn't turn into an insurmountable problem, your car must be equipped with a minimum set of tools.
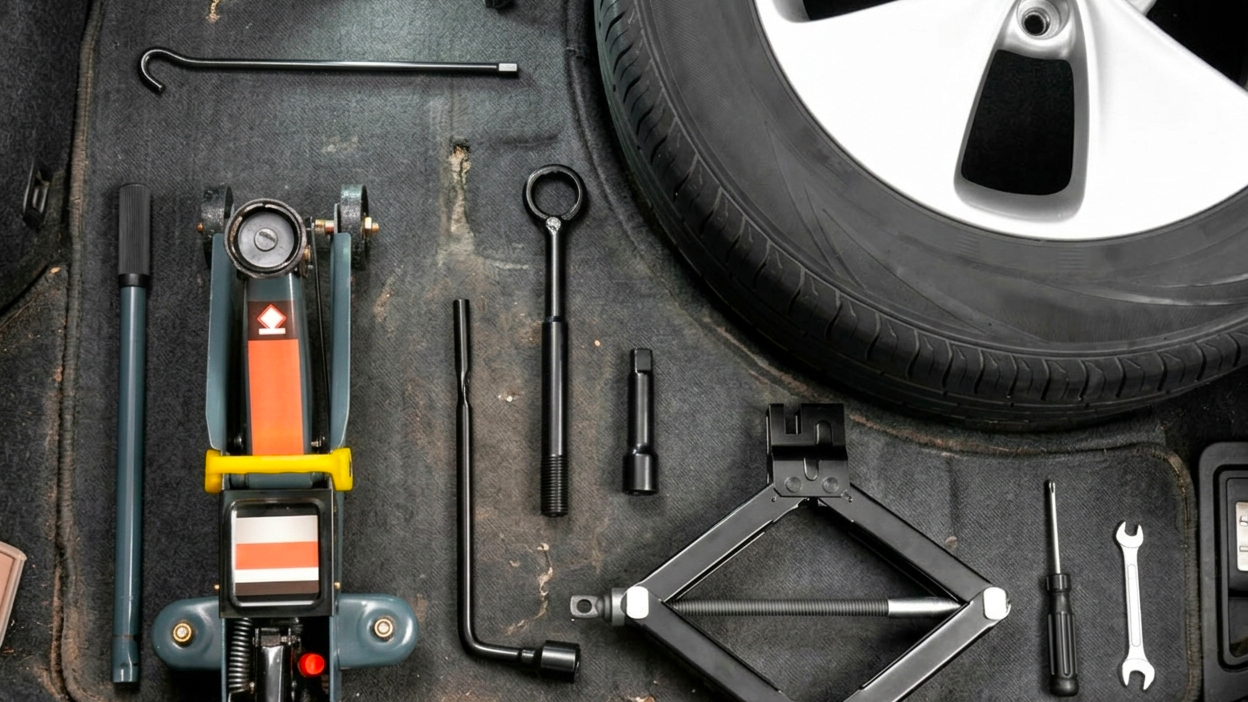
A list of essential equipment:
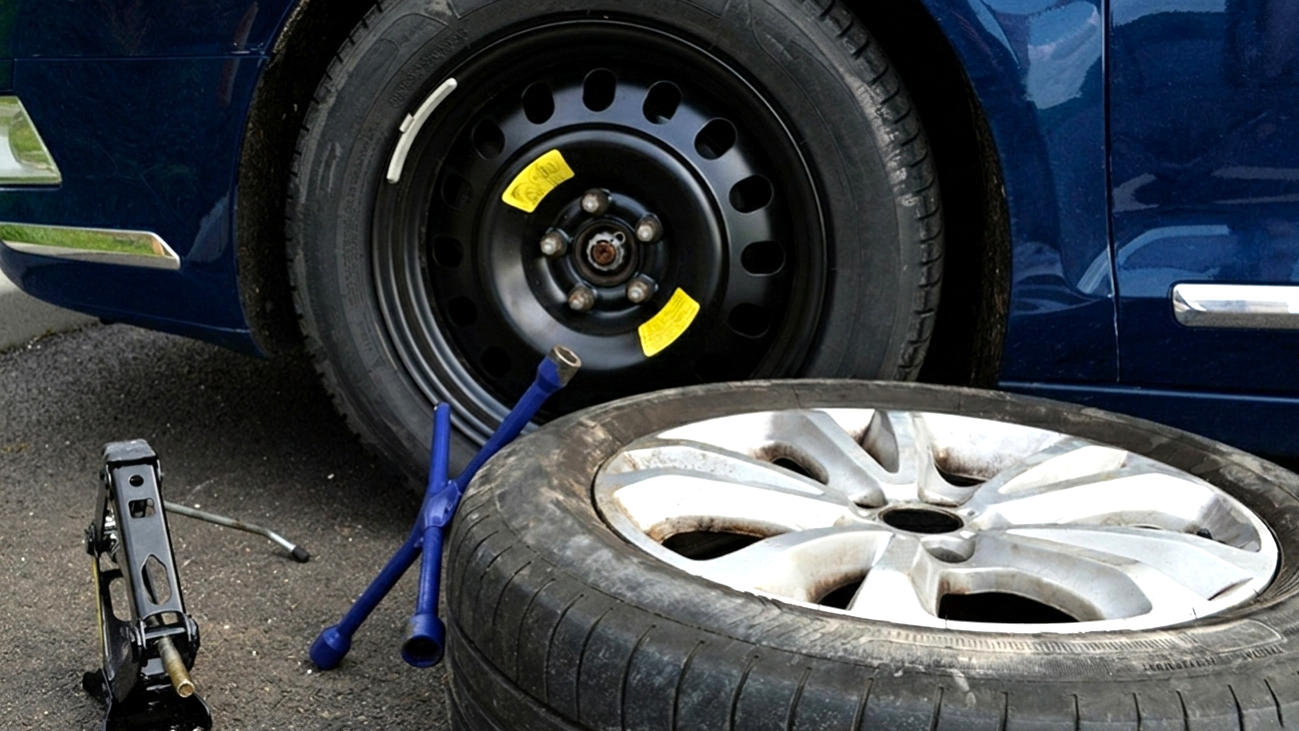
- A serviceable spare tire. Whether it's a full-size spare or a compact "donut," it must be inflated to the pressure indicated on the sticker in your door jamb. A flat spare is useless weight. Check its pressure with a gauge at least once a month.
- A jack. Ensure it is rated for your vehicle's weight and is in good working order. The standard scissor jacks can be flimsy; for heavier vehicles, consider a more robust trolley or hydraulic bottle jack.
- A lug wrench. The tool for removing and tightening wheel fasteners. A four-way (cross) wrench is preferable to a simple L-shaped one, as it provides better leverage and allows for two-handed operation. A telescopic wrench is an even more convenient option.
Maintaining Your Emergency Kit
It's not enough to just have these tools; you must also keep them in working condition. At least twice a year, take out the jack and check its mechanism-the threads of a screw jack should be lubricated, and the piston of a hydraulic jack should move smoothly without any fluid leaks. Keep the lug wrench in a dry place to prevent rust.
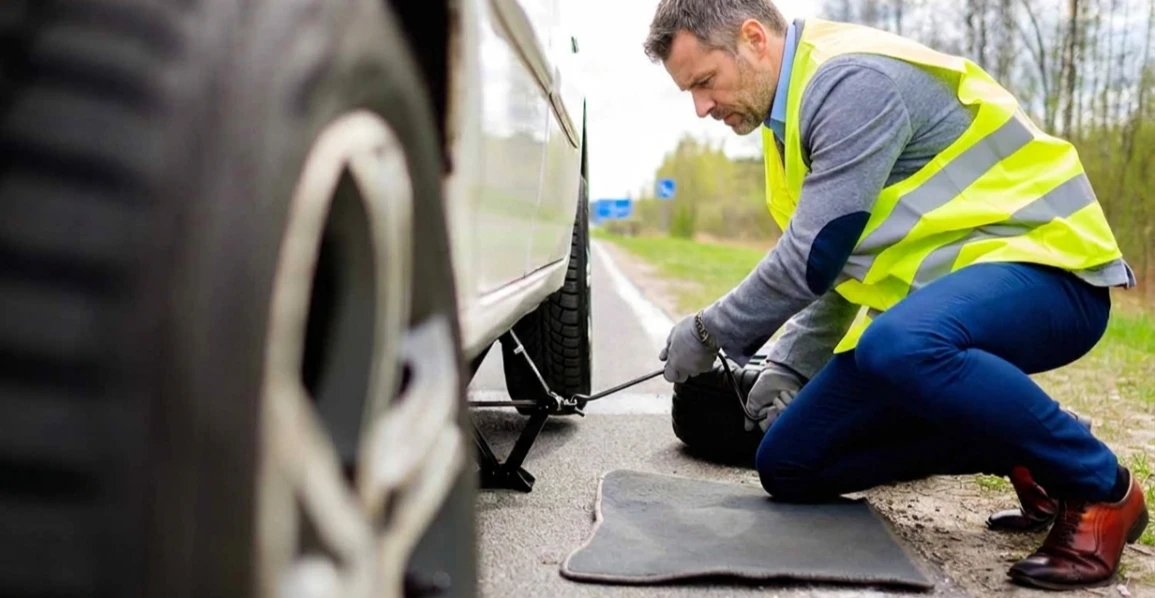
Safety First: The Primary and Most Important Step
Before you even touch a wrench, your main task is to make your work area safe for yourself and visible to others. Neglecting this stage can turn a minor technical issue into a tragedy.
A sequence of actions to create a safe zone:
- Choose the right location. Gradually reduce your speed and pull off the roadway onto the shoulder. Find the flattest, firmest surface possible. It is critical to avoid slopes, soft ground, or loose gravel where the car could roll or the jack could sink or slip.
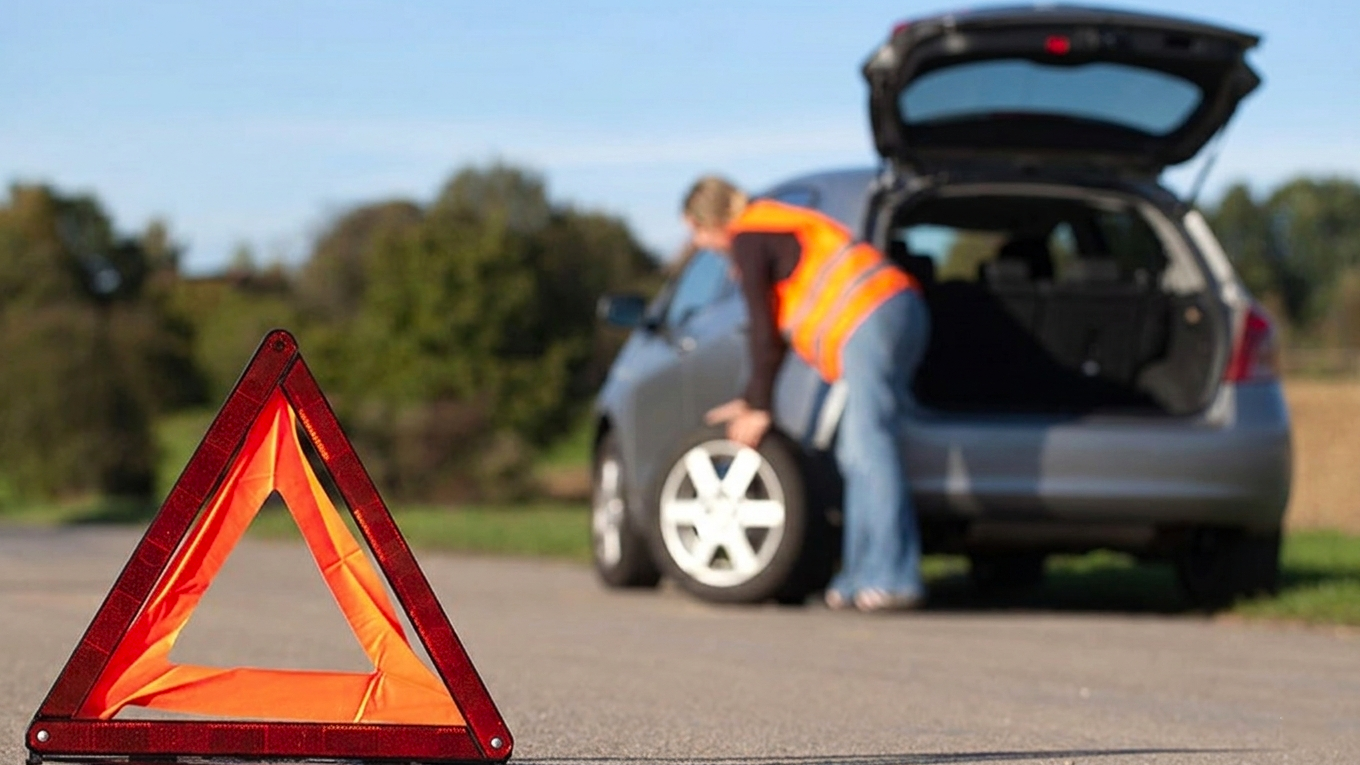
- Make your vehicle visible. Immediately after stopping, activate your hazard lights to warn other drivers of an obstruction. If you're working at dusk or at night, also turn on your parking lights.
- Immobilize the vehicle. Completely secure the car. Engage the parking brake, put a manual transmission in first gear, or shift an automatic transmission into "P" (Park). Place wheel chocks against the tire that is diagonally opposite the one you are changing.
The Replacement Process: A Clear Sequence of Actions
Once the vehicle is securely stabilized, you can begin the work. Do not rush, and strictly follow the algorithm for how to change a spare tire.
1. Loosening the Fasteners on the Ground
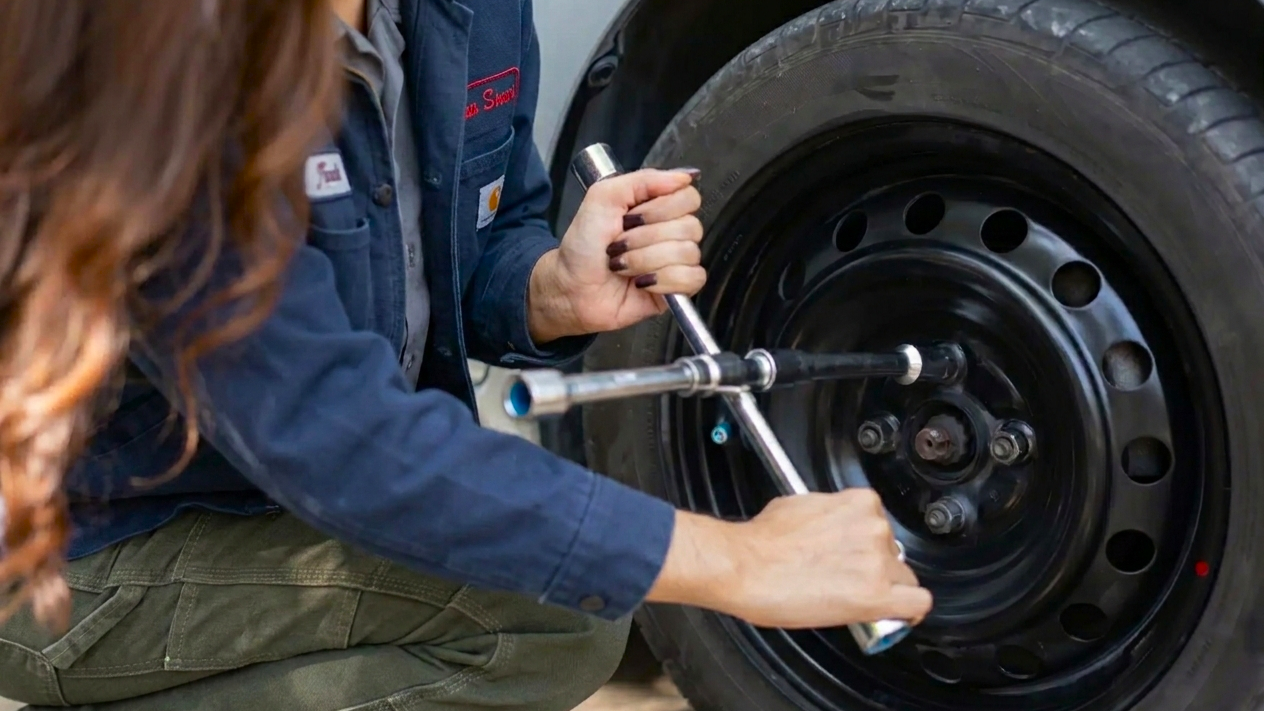
This is the most crucial detail that novices forget. You must loosen the wheel bolts or nuts while the car is still on the ground. Using the lug wrench, turn each fastener about half a turn counter-clockwise to break it free.
- What if a wheel has a locking lug nut?
When inspecting the fasteners, you might notice that one of them has a unique head pattern. This is a locking lug nut, a special fastener that protects your wheels from theft and can only be removed with a unique key adapter. This key is usually stored in the glove box, with the tool kit, or under the trunk floor. Before you start loosening the regular fasteners, find this adapter. Fit it onto the locking nut, and only then proceed to loosen it. Losing this key is a major problem, so always keep it in a known, designated spot.
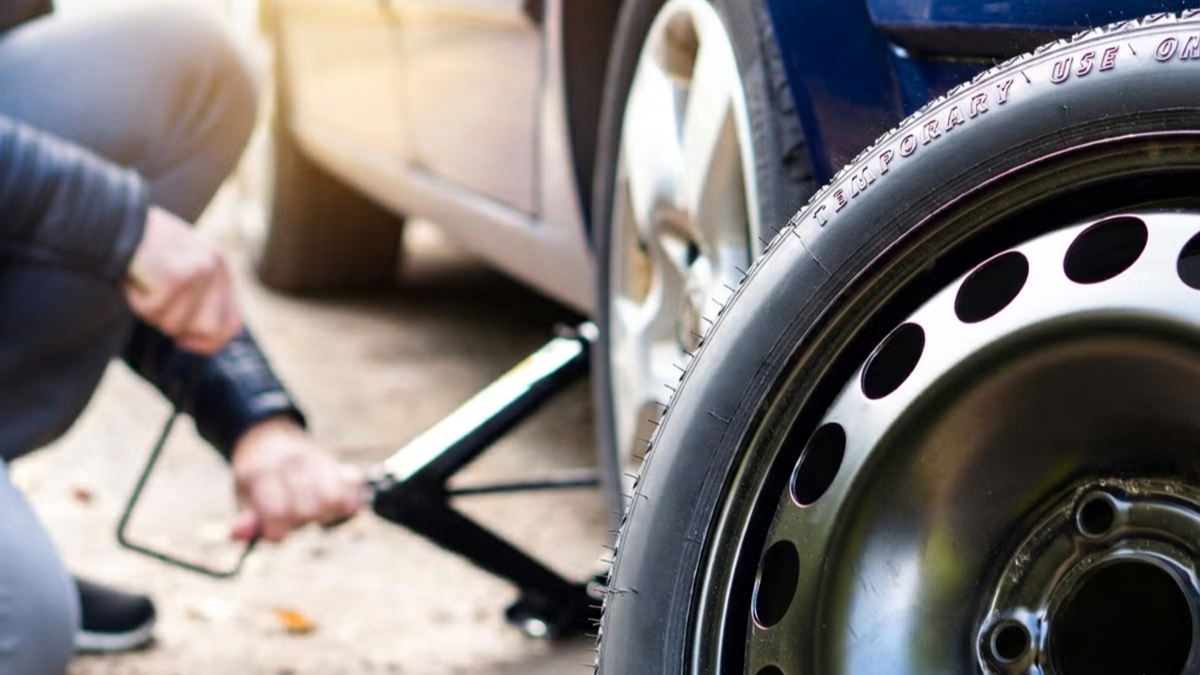
2. Positioning the Jack
Before lifting the vehicle, carefully inspect the rocker panel (side sill). Manufacturers always provide reinforced jacking points — they are located closer to the wheels and are usually marked with a notch, arrow, or small triangle.
It is crucial to place the jack exactly under this point; otherwise, you may damage the body. The base of the jack must rest on a firm, level surface such as asphalt, concrete, or compact ground. If the surface is soft (sand or loose soil), place a board or solid plate under the jack to prevent it from sinking under the vehicle’s weight.
Make sure the jack stands vertically and is not tilted — this is essential for safety.
3. Lifting the Vehicle
- Slowly turn the jack handle to raise the vehicle smoothly. Do not rush, and ensure the car remains stable throughout the process.
- Lift the vehicle only until the damaged wheel clears the ground by about 2–3 centimeters (1 inch). This is more than enough for removal.
- There is no need to lift the car higher — the higher it is raised, the less stable it becomes, increasing the risk of shifting.
4. Removing the Wheel
Once the vehicle is lifted, fully unscrew the lug bolts (or lug nuts). Do this carefully and keep the fasteners in one place to avoid losing them. After removing the bolts, gently pull the wheel toward you. Sometimes it may stick to the hub — in this case, lightly rock it from side to side to loosen it. Remove the wheel using both hands to prevent it from falling.
5. Installing the Spare Wheel
- Take the spare wheel and carefully place it onto the hub, aligning the holes in the rim with the studs (or bolt holes).
- It is important to seat the wheel properly — it should fit flush against the hub without any misalignment.
- Hand-tighten the bolts by turning them clockwise. Do not apply force at this stage — the key is to ensure the bolts engage the threads correctly. This helps prevent thread damage.
6. Preliminary Tightening While Elevated
While the wheel is still off the ground, lightly tighten the bolts with a wrench. Do not fully tighten them yet — just secure the wheel snugly against the hub. This ensures the wheel is properly positioned before the final tightening.
7. Lowering the Vehicle
Carefully lower the vehicle by slowly turning the jack handle in the opposite direction. Make sure the wheel is fully in contact with the ground and that the vehicle stands firmly and steadily. Only after this should you completely remove the jack.
8. Final Tightening on the Ground
Now comes the most important step.
- Once the wheel is under load, tighten the bolts to the proper torque.
- Always tighten them in a crisscross (star) pattern — this ensures even pressure and proper seating of the wheel against the hub, preventing distortion.
- Avoid overtightening, but never leave the bolts too loose. This step is crucial to installing a spare wheel correctly, safely, and securely.
- After driving 20–50 km (12–30 miles), it is recommended to recheck the bolt tightness for additional safety.
Actions After Installing the Spare
The job isn't finished yet. Installing a spare, especially a "donut," is a temporary solution.
- Check the pressure. Immediately after installation, check the pressure in the spare tire. It is often underinflated.
- Remember the "donut's" limitations. A compact spare tire is not designed for high speeds or long distances. Manufacturers typically limit the speed to 80 km/h (50 mph) and the distance to 100 km (about 60 miles). Your goal is to get to the nearest tire shop as soon as possible.
- Visit a tire shop. Have your primary tire repaired or replaced. Ask the technician to check the torque on the spare's lug nuts with a torque wrench.
Common Mistakes to Avoid
A list of problem-causing errors:
- Working on a slope or soft ground. The jack can slip, causing the car to fall.
- Improperly securing the vehicle. Forgetting the parking brake can lead to the car rolling during the lifting process.
- Incorrect sequence of actions. Trying to loosen the lug nuts on a lifted car will just cause the wheel to spin.
Alternatives to a Spare Tire
Some modern cars do not come with a spare. Instead, they offer other solutions. A tire repair kit with a sealant and a compressor can fix a small puncture in the tread but is useless for a sidewall cut. Run-flat tires have reinforced sidewalls that allow you to continue driving on a flat for up to 80 km (50 miles). If the damage is severe and you have no other options, your only choice is to call roadside assistance or a mobile tire service.
Tips for the Future
- Regularly inspect your tires — pay attention to cuts, cracks, bulges, and foreign objects embedded in the tread. Even a small screw can eventually lead to air pressure loss. Check the tread depth and ensure the wear is even: if a tire wears unevenly, in patches, or only along the edges, it may indicate alignment issues or incorrect tire pressure.
- Monitor tire pressure at least once a month and обязательно before long trips. Both underinflation and overinflation accelerate wear and increase the risk of damage.
Knowing how to install a spare wheel is a useful skill, but it does not replace preventive care. Proper tire maintenance, timely replacement of worn tires, and a careful driving style are the best protection against unexpected punctures and unpleasant roadside stops.
Conclusion: Confidence Through Knowledge
Now you know the full process and are equipped with the knowledge to handle one of the most common roadside problems. This skill builds confidence behind the wheel and frees you from relying on outside help. The main things are to follow the sequence, prioritize safety, and have the right tools on hand. Calmness, care, and our guide will help you in any situation. A successful changing a tire job is an integral part of a competent driver's experience.
