How to Use Jumper Cables Correctly | Safe Car Jump Start Instructions
A car battery can lose its charge for various reasons. The main causes include electrical consumers left on (headlights, dome light, stereo), self-discharge during long periods of inactivity, frequent short trips, a faulty alternator, battery aging, and low ambient temperatures. A parasitic draw due to incorrectly installed aftermarket devices can also be a factor.
The need to jump a car with jumper cables often arises when the battery unexpectedly dies in a parking lot, during a road trip, in freezing weather, or after the vehicle has been sitting for an extended period. Mastering this skill allows you to quickly start your engine without a tow truck or specialized assistance.
The procedure of "jump-starting" requires strict adherence to safety precautions. You must use serviceable cables and observe the correct connection when jump starting a car what cable goes on first. The metal clamps must never touch each other. Do not attempt to connect vehicles with different system voltages. It is forbidden to work with damaged batteries. When connecting the negative cable, choose a metal part of the engine or chassis located away from the battery to eliminate the possibility of igniting gases. After successfully starting the engine, do not turn it off immediately—allow time for it to recharge.
What You Need to Jump-Start a Car
Jumper Cables: How to Choose Reliable and Safe Ones
Every driver has faced that frustrating moment when the car battery suddenly dies — usually at the worst possible time. That’s when jumper cables become your best friend: a simple yet essential tool that can bring your car back to life in minutes. However, not all cables are equally safe or effective, so it’s important to know how to choose the right set.
Cable Thickness — The Key to a Successful Start
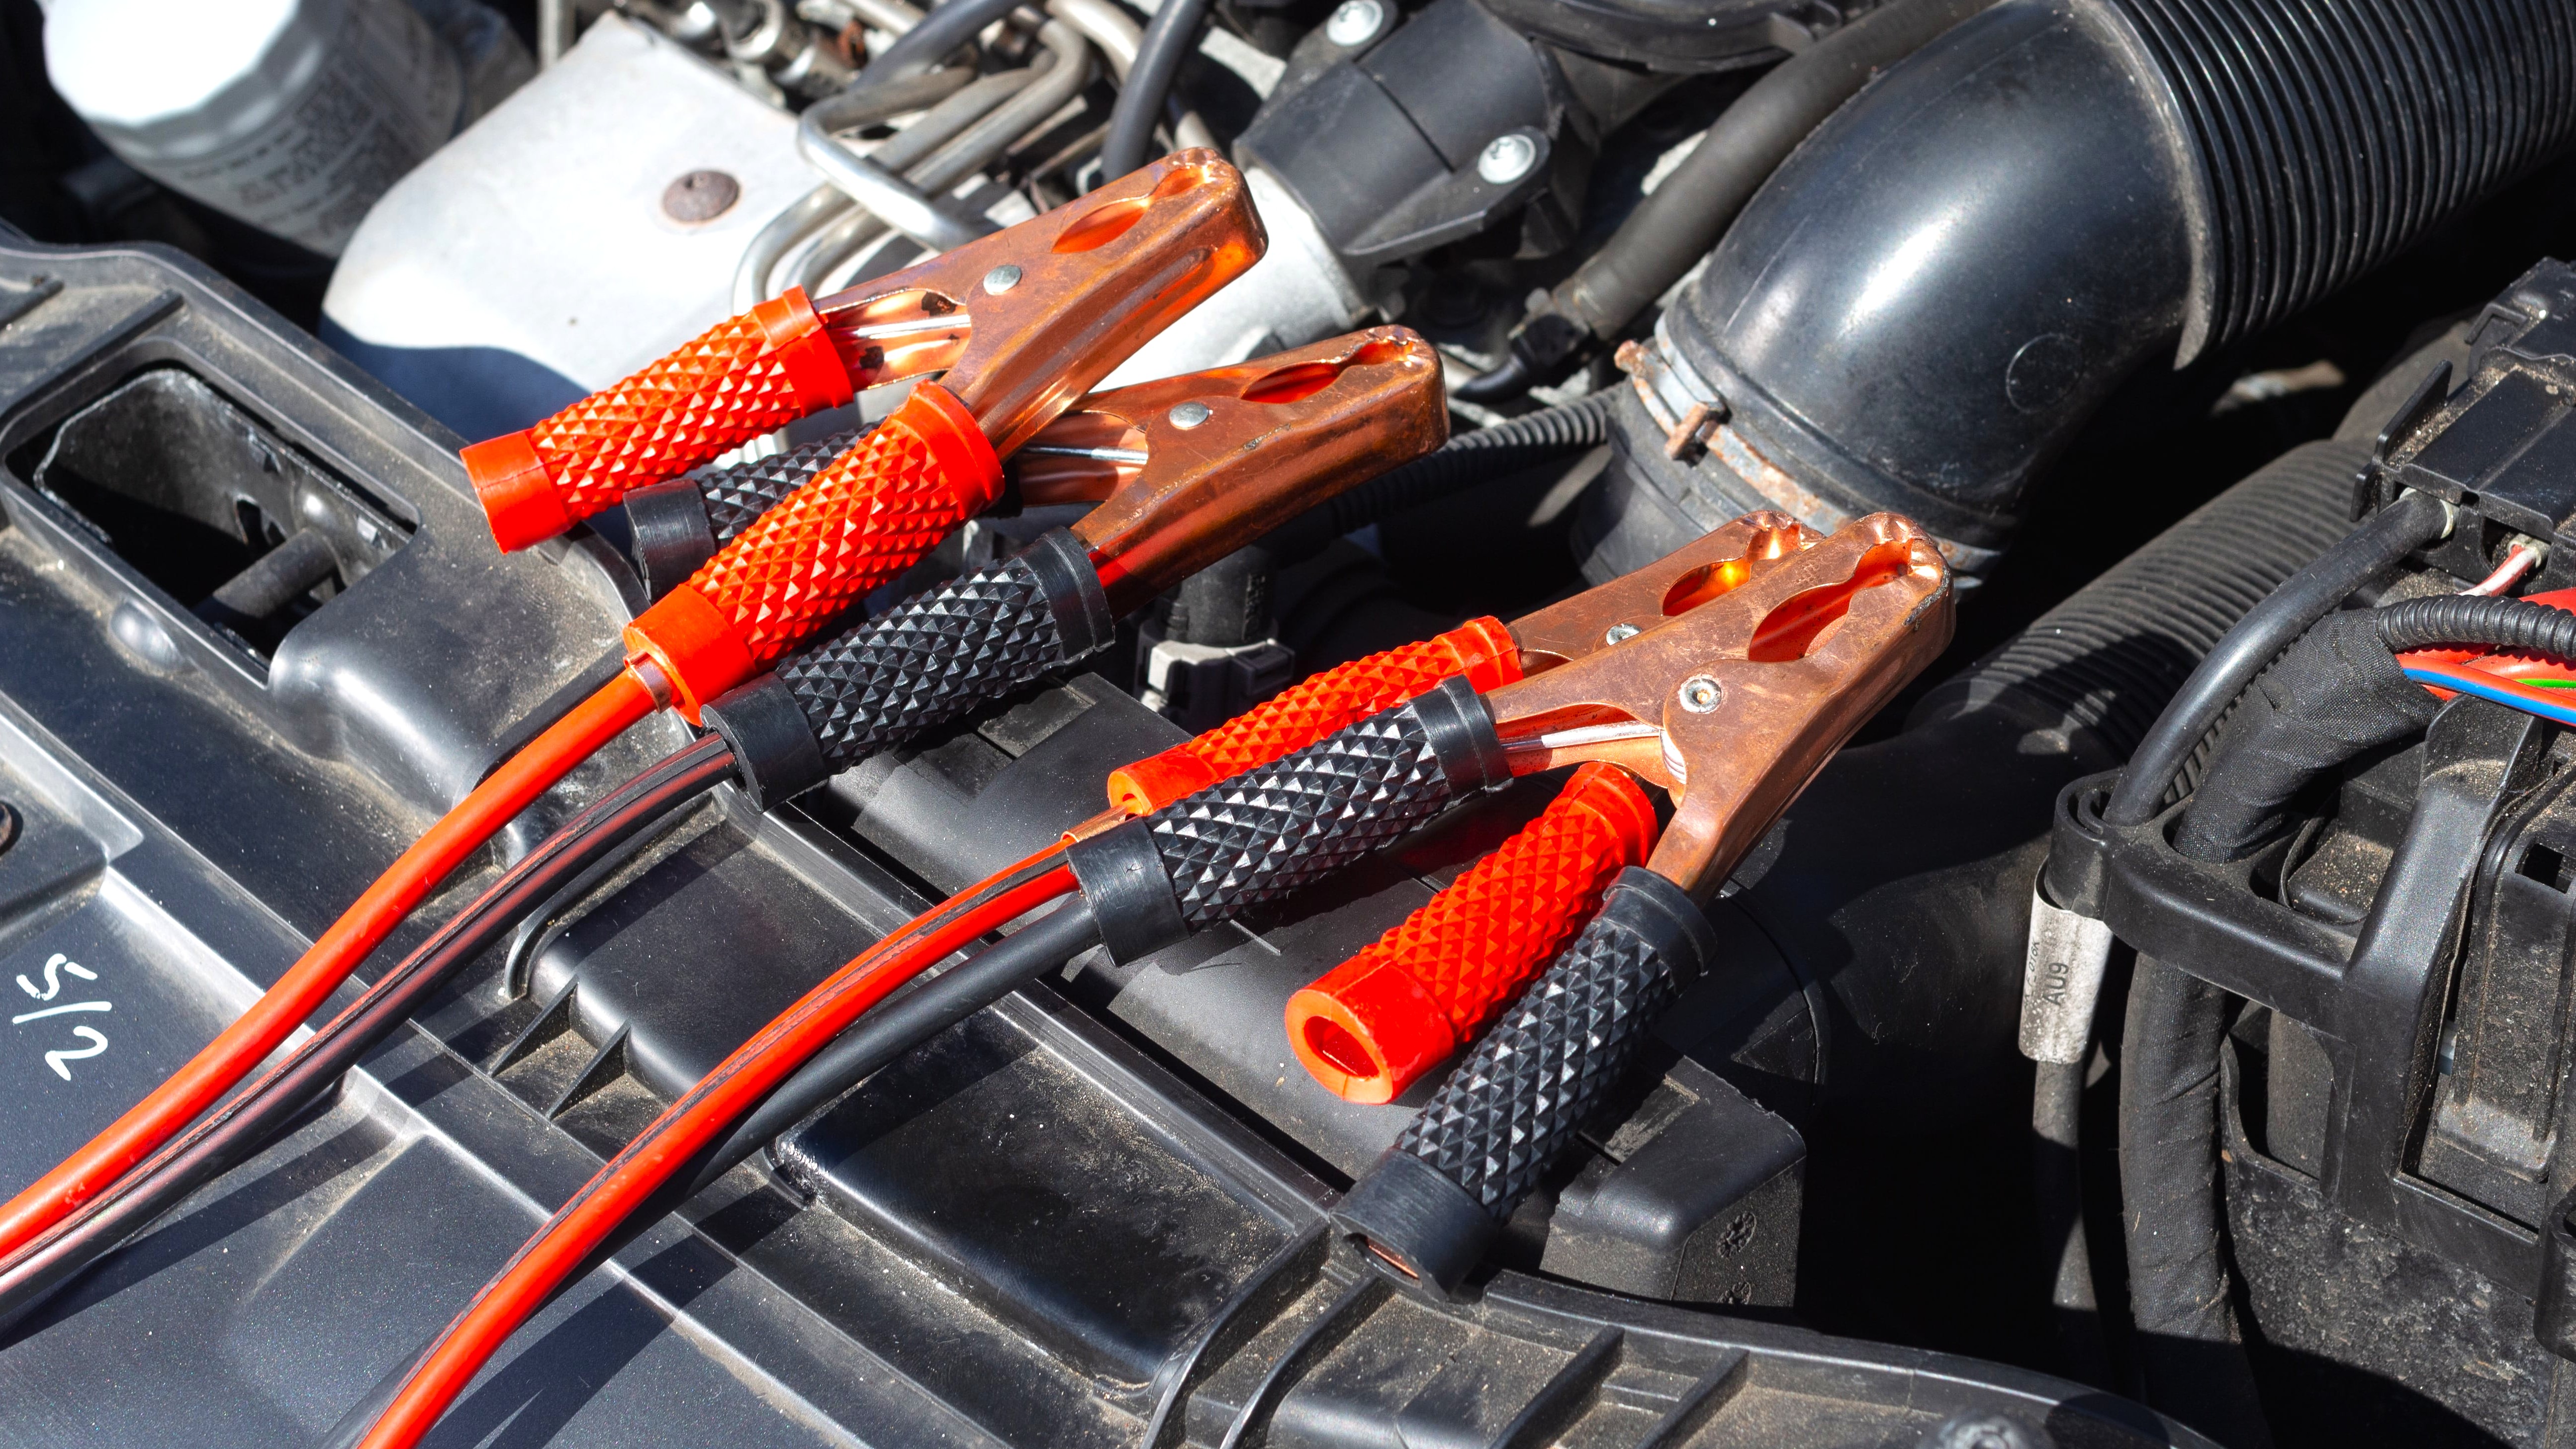
The most important factor is the wire gauge — the cross-sectional area of the conductor. For passenger cars, a 14–16 mm² cable is ideal, while for SUVs or commercial vehicles, it’s better to go for 25–35 mm². The thicker the cable, the more starting current it can transmit without overheating or power loss. Cables that are too thin may fail to crank the engine — or even melt under heavy load.
Conductor Material
Always choose copper or at least copper-coated cables. Pure copper ensures better conductivity and durability, which means a more stable and reliable start. Aluminum cables, though cheaper, quickly lose efficiency — especially in cold weather.
Insulation and Length
High-quality insulation is just as important. It should remain flexible even at -30°C (-22°F). Frost-resistant rubber or silicone prevents cracking and makes the cables easy to handle in winter. The optimal length is 3–4 meters (10–13 feet) — long enough to connect two cars parked at an angle, yet short enough to avoid excessive voltage drop.
Clamps and Marking
The alligator clamps should be strong and springy, ensuring a tight grip on the battery terminals. Copper or brass plating is a big plus for better electrical contact. Color coding is essential:
- Red cable — positive (+).
- Black cable — negative (–).
Never mix them up — a simple mistake can damage the car’s electronics.
The Donor Car: What It Should Meet
.png?_t=1762884711)
For a safe jump-start, the donor car must have a battery with the same nominal voltage as the one being jump-started — typically 12V. Before connecting, make sure the donor’s battery and alternator are in good working order and capable of delivering the required current. If the donor’s battery is weak, you might end up draining both batteries instead of helping.
Avoid using vehicles with sensitive electronics, such as hybrids or premium models with numerous sensors — voltage spikes during jump-starting can cause system errors or even component failure.
Handy Extras: Small Things That Make a Big Difference
For safety and convenience, it’s a good idea to keep a small emergency kit in your trunk:
- Protective gloves and goggles – prevent burns from accidental sparks
- A flashlight or headlamp – helps you see under the hood in the dark
- A brush or contact cleaner – removes corrosion and dirt from battery terminals for a stronger connection
- An instruction sheet or connection diagram – especially useful if you’re jump-starting for the first time
Final Tip: After the engine starts, don’t disconnect the cables immediately. Let the car run for 5–10 minutes so the battery can recharge a bit before driving off.
That way, your jump-start will be quick, safe, and effective — with no surprises along the road.
Preparing for the Process
When the cables are connected, it’s time to move on to action. It’s important to follow each step carefully and avoid rushing — that’s the key to a safe and successful jump start.
Step 1. Start the donor vehicle
Once you’ve securely connected the terminals on both batteries (red to positive, black to negative), start the engine of the donor car. Let it run at idle — don’t rev the engine or increase the load too quickly. At this stage, the goal is to allow electricity to flow steadily through the cables into the dead battery.
If the donor car has a powerful engine, such as an SUV, it’s better to keep the revs slightly above idle (around 1,500–2,000 RPM) for the first few minutes. This helps generate a bit more current and speeds up the charging process.
Step 2. Wait a few minutes for charging
Once connected, current begins to flow into the discharged battery. Usually, 5–10 minutes of the donor engine running is enough to restore the minimal charge needed to start the car. Don’t rush — trying to start a vehicle too soon when the battery is completely dead may not work. It’s better to wait a little longer, especially in cold weather, when batteries lose capacity faster.
Tip: During this time, you can turn on the donor’s low-beam headlights — this helps stabilize the voltage and reduces the risk of surges during the next start attempt.
Step 3. Try starting the “dead” car
Now, try starting the engine of the car with the dead battery. Do it as usual — without pressing the gas pedal. If the engine starts, don’t disconnect the cables right away. Let both cars run for another 5–10 minutes to allow the weak battery to recover and gain a proper charge.
After that, you can carefully remove the cables in the reverse order:
- Black (negative) from the dead car.
- Black from the donor car.
- Red (positive) from the dead car.
- Red from the donor car.
Step 4. If the engine doesn’t start on the first try
Don’t panic — it happens. If nothing happens after the first attempt, stop and check the connections:
- Are the clamps tight enough?
- Did any of them slip off?
- Are the terminals clean, without corrosion or buildup?
Try again after 2–3 minutes. But if the engine still won’t start after several attempts, the issue might not be just the battery. Possible reasons include a faulty starter, corroded ground connections, wiring issues, or a bad alternator. In that case, it’s best not to keep trying — doing so could damage the vehicle’s electronics or ignition system.
Connecting the Cables: Step-by-Step Instructions
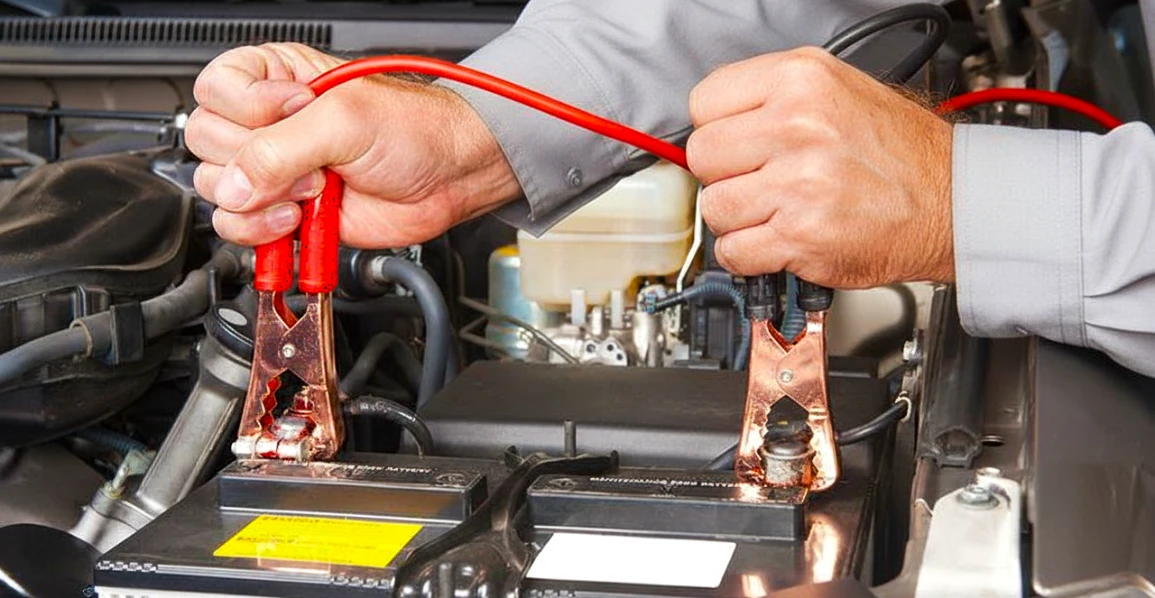
Connecting the wires must be done in a strict sequence to prevent short circuits and damage to the electronics. For convenience, the positive cable is typically red, and the negative is black.
The connection process starts with the positive wire to avoid accidental short circuits if a loose wire touches a metal part of the car body:
- Red Cable — to the positive terminal of the "dead" battery. Take one end of the red (positive) cable and attach the clamp to the positive terminal (+) of the battery in the car with the dead battery. The clamp should grip tightly to ensure maximum contact area.
- Red Cable — to the positive terminal of the "donor" battery. Connect the second end of the same red (positive) cable to the positive terminal (+) of the charged battery in the donor car. While doing this, it is crucial to ensure that the free (black) cable does not touch any metal parts.
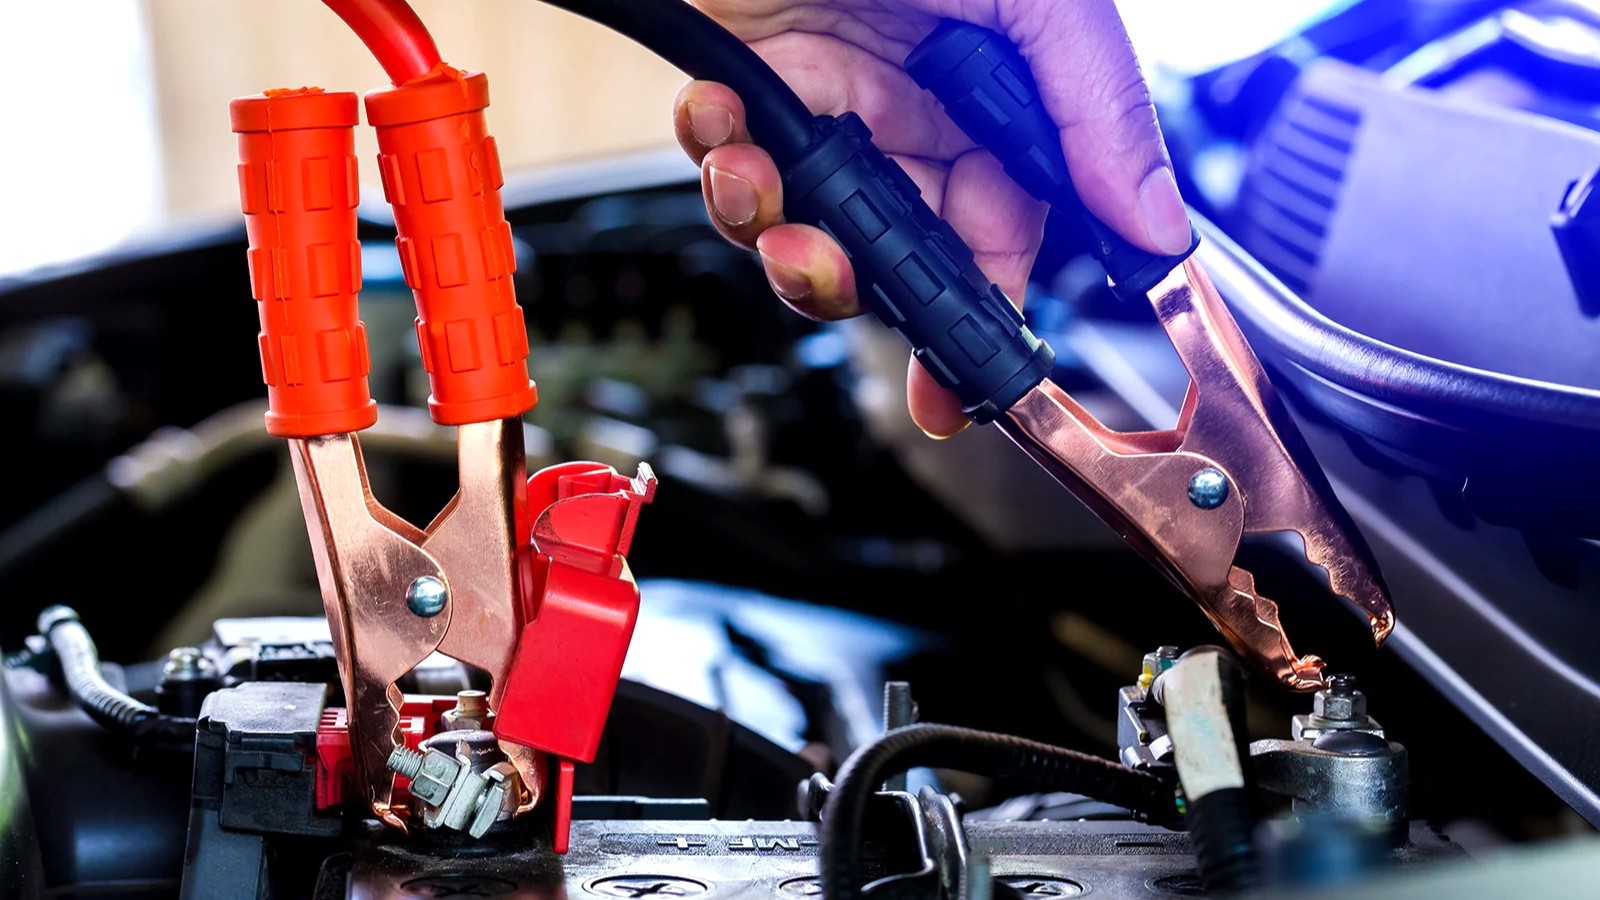
- Black Cable — to the negative terminal of the "donor" battery. Connect one end of the black (negative) cable to the negative terminal (-) of the donor car's battery. This establishes a reliable negative connection on the donor system.
- Black Cable — to a metal part of the engine or chassis of the "dead" car. Connect the second end of the black (negative) cable to an unpainted, heavy metal component in the engine bay or on the chassis of the car with the dead battery (for example, the engine block or a bracket). Connecting to a ground point away from the battery is critical because it avoids sparking directly near the battery, which is essential as explosive hydrogen is released during charging.
Actions After Starting
After disconnecting the wires, the car's engine should run for at least 20–30 minutes to replenish the battery charge. The best way is to take a moderate drive so the alternator can provide a stable charge.
Tips and Warnings
Common Mistakes Made by Beginners
Frequent mistakes include reversed polarity, connecting the negative wire directly to the battery terminal instead of the ground, using thin cables, making multiple unsuccessful starting attempts, and turning off the engine immediately after starting.
When "Jump-Starting" Won't Help
The procedure is ineffective in cases of internal battery damage, frozen electrolyte, a faulty alternator, or a very deep discharge. In these cases, diagnosis and battery replacement are required. Considering a best battery jump starter is a good alternative for deep discharge.
Alternative Starting Methods
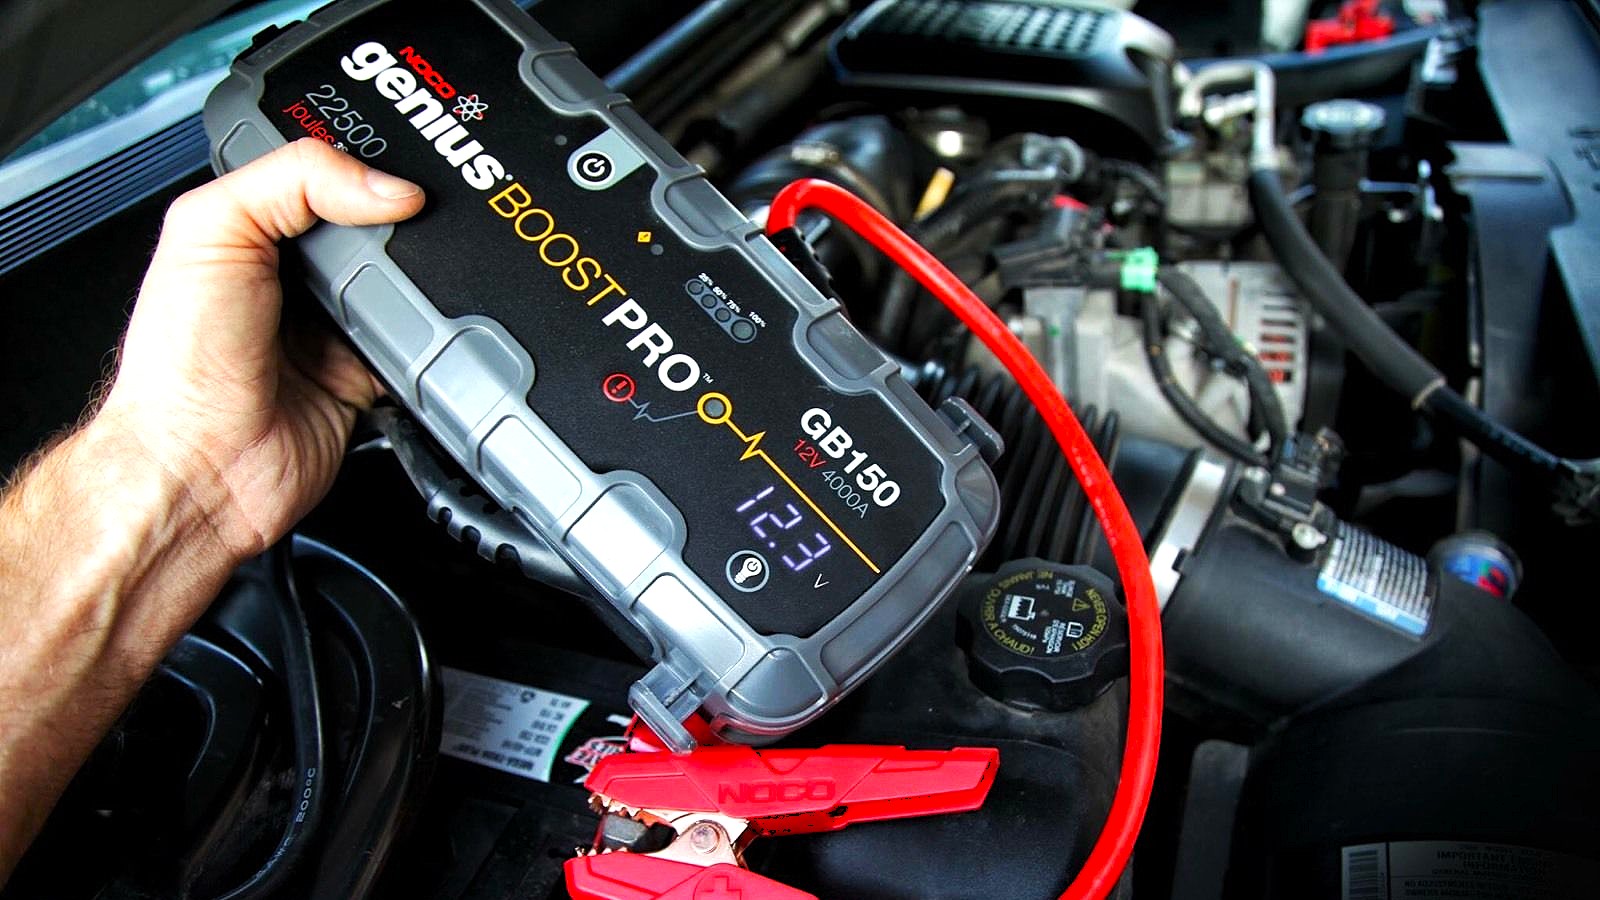
Jump Starter/Portable Power Pack
A portable jump starter is a compact battery-powered device capable of delivering a high surge of current to start an engine. The connection is similar to using regular jumper cables. This method is safer as it does not require a second vehicle.
Towing and Push-Starting (Manual Transmission Only)
For cars with a manual transmission, starting by towing or pushing is possible. Once the car is moving, engage the clutch and put it into gear to start the engine from the wheel rotation. This method is only applicable if the transmission is in working order and there are no electronic restrictions.
Conclusion
Learning how to jump start a car is a valuable skill for any driver, but it is a potentially dangerous method requiring strict adherence to safety rules and the correct sequence of actions.
Quick Algorithm Review:
- Check battery condition and turn off all electrical consumers.
- Park cars without contact.
- Connection: Red (+) to the "dead" battery, then to the "donor" (+). Black (-) to the "donor" (-), then to a ground point on the "dead" car's chassis/engine.
- Start the donor's engine, wait 5–15 minutes.
- Start the "dead" car.
- Disconnection: In the strict reverse order with the engine running.
To prevent discharge, regularly check the battery charge level, clean the terminals, ensure the alternator is working correctly, and avoid short trips with frequent starts. Replace the battery when its service life (3–5 years) is reached. It is helpful to carry a set of high-quality jumper cables or a portable jump starter.
