How to Safely and Effectively Clean Your Car’s Engine Bay
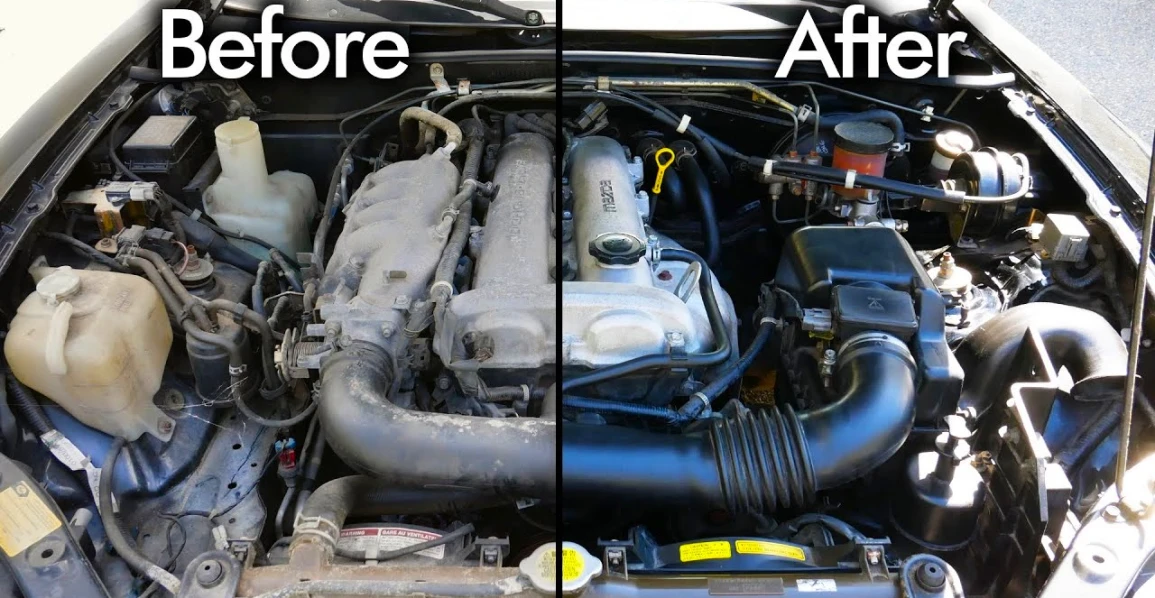
Under the hood of your car lies its heart – the engine. But over time, this technological marvel gets covered in a layer of dust, dirt, oil, and road chemicals. Unfortunately, most drivers ignore this problem, thinking it "doesn't affect performance." But an engine bay cleaning is an important part of maintenance that directly impacts the health, safety, and value of your car.
- A clean engine cools better, which reduces the risk of overheating. On a clean surface, it's easier to spot oil or antifreeze leaks at an early stage.
- The absence of dirt reduces the risk of fire from oil spilling onto a hot manifold.
- And, of course, when selling a car, a clean engine bay is a powerful bargaining chip and an indicator that the car has been well cared for.
- But many are deterred by a common myth: "cleaning the engine is dangerous; you can flood the electronics." However, with the right approach, this risk is minimal.
So, if you are clearly determined to perform this challenging procedure, read our guide on how to clean engine bay safely and effectively. We will break down how to clean engine, what products to use, and what mistakes to avoid.
Preparing for the Clean
Proper preparation is 90% of success. It ensures that the procedure will be not only effective but also completely safe for all of the car's systems. Don't rush; perform all the steps sequentially, and then the engine bay cleaning will only bring benefits.
Before You Turn on the Water: What You Need to Do
The most important rule is that the engine should be barely warm, but not hot. Ideally, let the car sit for 15–20 minutes after a drive. Washing a hot engine is dangerous due to the sharp temperature difference, which can lead to part deformation. Next, you must carefully protect all vulnerable areas from moisture.
Component | How to Protect | Why It's Important |
Battery | Cover it completely with a plastic bag. | Prevents short circuits. |
Alternator | Wrap it in several layers of plastic wrap or a bag. | Direct water contact can cause it to fail. |
Fuse Box | Cover it tightly with plastic wrap. | Moisture can cause contact corrosion. |
ECU (Engine Brain) | If it's under the hood, protect it as well. | The most expensive electronic component. |
Air Intake | Cover the opening with a bag and secure it with tape. | Water entering the intake system can cause hydrolock. |
Connectors and Sensors | Wrap all open electrical connectors with plastic wrap. |
For the job, you will need gloves, safety glasses, a specialized engine cleaner, a set of brushes, a garden sprayer or a pressure washer, a compressor or microfiber towels for drying, and a protectant for the final treatment.
Dry Cleaning: The Key to Safe and Effective Engine Washing
Before you bring out water and chemicals, the engine needs to be properly prepared. This step is often underestimated, yet it determines how clean — and how safe — the entire process will be. Skipping dry cleaning means that dust and sand particles will mix with water, turning into an abrasive paste capable of scratching paint, plastic, and even aluminum surfaces.
Step 1: Remove Dust and Debris
First, make sure the engine is completely cool. Then grab compressed air, a set of soft brushes and detailing tools. Your goal is to gently remove everything that has accumulated over months of driving:
- Leaves blocking the radiator fins.
- Sand and road dust settled on the valve cover.
- Spiderwebs and debris trapped in hidden corners.
Pay special attention to the areas around injectors, ignition coils, and spark plug wells — these are the most likely places for stubborn dirt buildup that’s hard to wash off later. If you don’t have a compressor, use a car vacuum with a blow function — it works just as well.
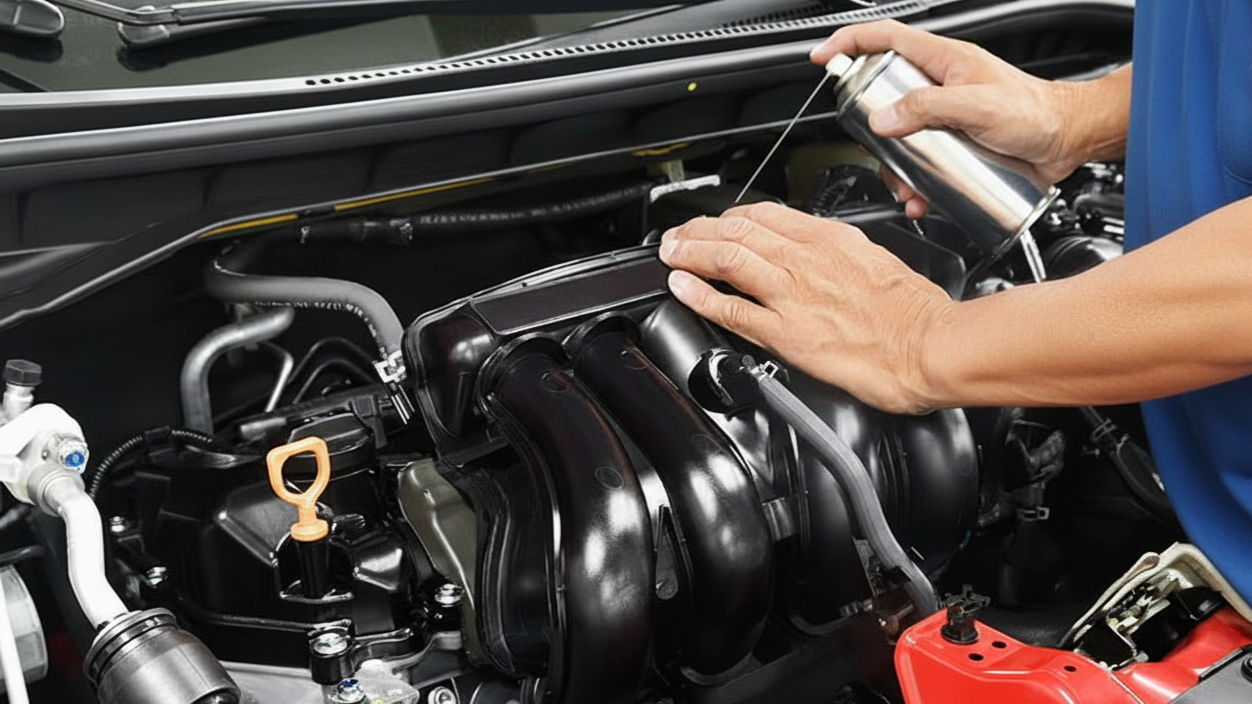
Step 2: Applying the Cleaner — Only Specialized Products
Once the large debris is gone, you can move on to chemical cleaning. Remember: household detergents are absolutely unsuitable. They’re too aggressive for plastic, aluminum, and rubber, can leave white stains, and may even cause corrosion.
Step 3: Choosing the Right Cleaning Agent
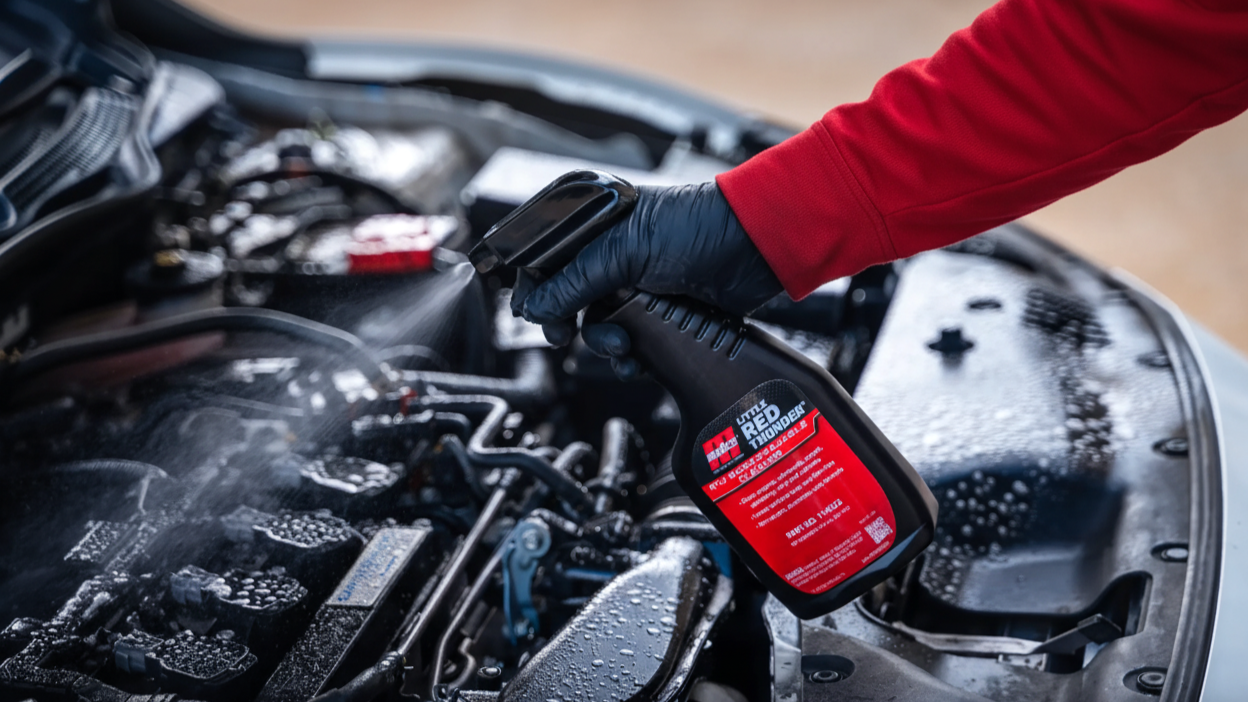
The best choice is a professional engine cleaner. These products are formulated with dielectric properties, meaning they’re safe for electrical components and do not conduct current. They effectively dissolve oil residue, road film, and other traces of use without harming delicate materials.
Before applying, cover sensitive parts — the alternator, fuse box, and open connectors — with plastic wrap. Then spray the cleaner (foam or gel type) evenly across the engine bay. Allow it to sit for 5–10 minutes as directed: during this time, the active ingredients will break down grease and grime.
For heavily soiled areas — near the valve cover or oil filler cap — use a soft detailing brush to help the product penetrate deeper and remove even old buildup.
Wet Washing: Spotless Results Without the Risk
Now comes the most delicate stage — wet cleaning the engine. This is where precision matters: done right, the engine will look brand-new; done wrong, it may lead to electrical issues. The rule is simple: water should help, not harm.
Water and the Engine: Safe Washing Technique
Forget about blasting it with a high-pressure washer. A strong jet can push moisture into seals, connectors, and control units — places where water should never be. Instead, use a gentle spray from a garden sprayer or a shower nozzle to rinse off the remaining cleaner and dissolved dirt.
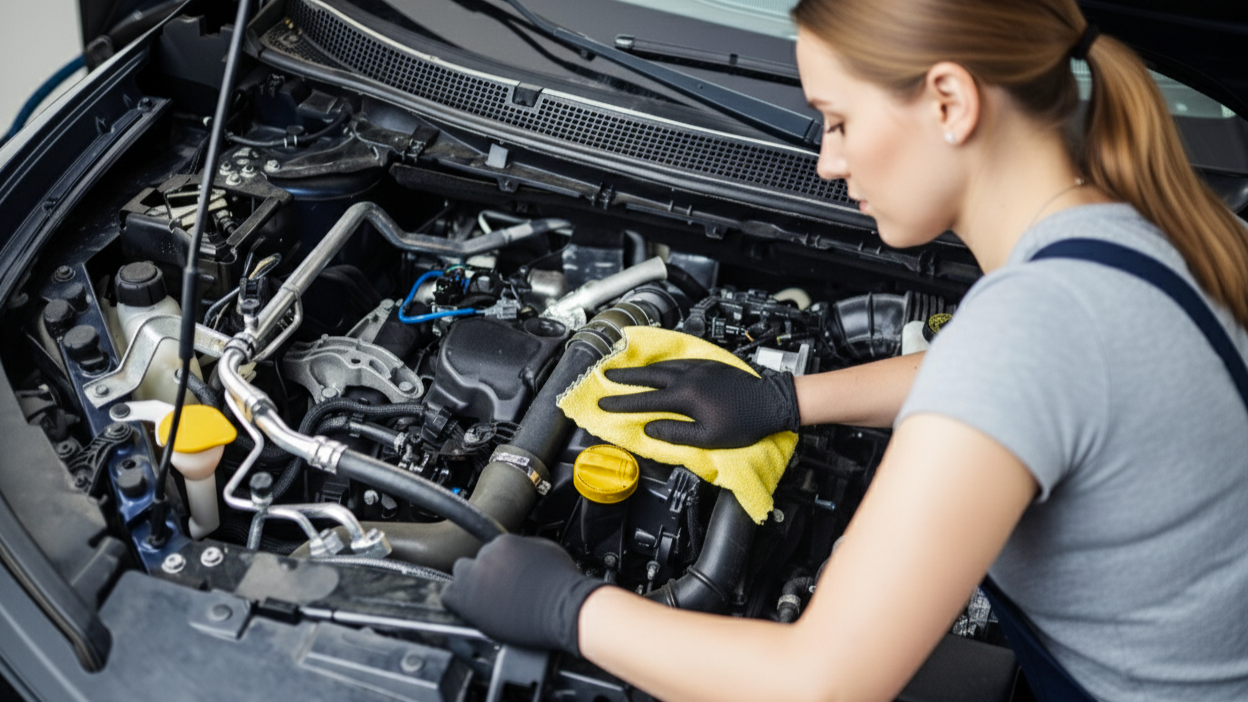
Work from top to bottom, moving steadily without focusing too long on one area. After rinsing, wipe the surfaces with microfiber cloths or blow them dry with compressed air to remove any moisture from gaps and crevices.
If possible, let the engine air-dry naturally for a while, then start it up — the heat will quickly evaporate the remaining water. This careful approach will keep your engine bay not only clean and shiny, but also safe and fully functional, protecting the electronics and components that bring your car to life.
Method #1: Garden Sprayer (the safest)
The ideal tool for a first-time DIY wash. Fill it with clean, warm (not hot!) water. Warm water rinses off chemicals better. Start methodically, from top to bottom, rinsing off the foam and dirt. The advantage of a sprayer is that it provides a gentle yet effective stream that cannot damage wiring or radiator fins. This method takes more time but guarantees one hundred percent safety.
Method #2: Pressure Washer (requires caution)
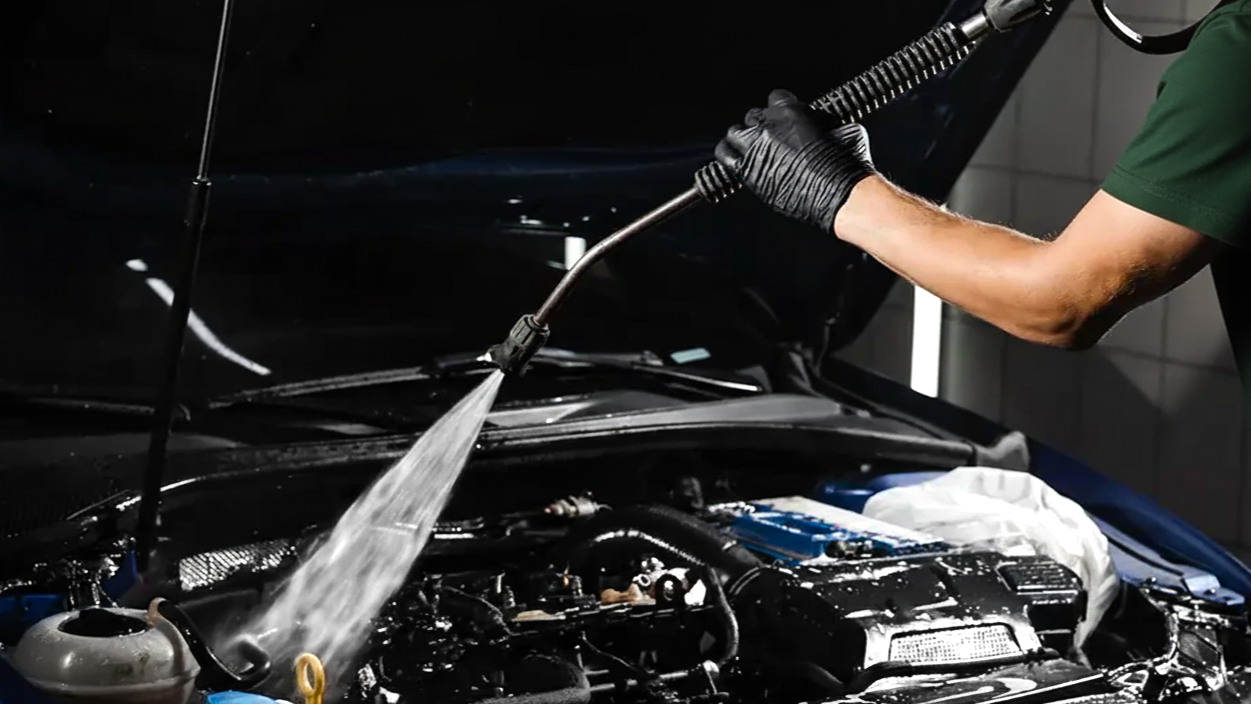
You can use a pressure washer, but with intelligence. Be sure to install a fan nozzle and set the lowest possible pressure. Keep the nozzle at a safe distance – at least 50–60 centimeters from the surfaces. Never direct the stream perpendicularly at one spot. Move smoothly, as if "sweeping" the dirt away. Also, start from the top down, so that dirt does not fall on already cleaned areas.
Critical Zones: Strictly avoid directing the stream, even a weak one, at the alternator, fuse box, ECU, ignition coils, and all electrical connectors, even if you have protected them beforehand. These areas are best gently wiped with a damp microfiber cloth or rinsed from a sprayer with maximum caution.
The air conditioner and cooling system radiators are also very vulnerable – a strong jet can easily bend their thin fins, disrupting heat exchange. Rinse them at an angle, not head-on.
Drying and Treatment
Proper drying is no less important than the wash itself. Residual moisture in hidden cavities and connectors can lead to corrosion and electrical problems in the future.
To Make Everything Shine: The Final Stage
The ideal tool for drying is a compressor. Use compressed air to thoroughly blow water out of all connectors, ignition coils, spark plug wells, and other hard-to-reach places. If you don't have a compressor, use a large number of dry microfiber towels to soak up as much moisture as possible.
After that, remove all the protective film. Start the engine and let it run for 10–15 minutes. The heat from the motor will help evaporate the remaining moisture. The final touch is applying a special engine bay protectant. It will create a thin protective film on all surfaces, giving them a new look, repelling dirt, and protecting against corrosion.
Mistakes When Cleaning the Engine
Even experienced car owners sometimes make mistakes that can lead to costly repairs. And here is what is most often done wrong:
- Washing a hot engine. A sharp temperature drop can cause the cylinder head to warp or cracks in the exhaust manifold.
- High water pressure. A powerful jet from a pressure washer can damage the radiator fins, tear wires, or force water into unsealed connectors.
- Ignoring electrical protection. The most common cause of problems. Water getting into the alternator, starter, or ECU can cause them to fail.
- Using aggressive chemicals. Dishwashing liquids or household degreasers can damage plastic and rubber parts, as well as cause corrosion of aluminum.
Frequency and Care: Keeping Your Engine Bay in Top Shape

A clean engine bay isn’t just about looks — it’s a sign of a well-maintained car. Regular cleaning helps you spot leaks early, prevents corrosion, and extends the life of rubber seals, wiring, and plastic parts. Plus, working under the hood is simply more pleasant when everything is tidy and easy to access.
How Often Should You Clean the Engine Bay?
There’s no one-size-fits-all rule — it depends on how and where you drive. But as a general guideline:
- Deep cleaning: Perform a thorough engine wash once or twice a year. The best times are spring — to remove winter salt, road grime, and de-icing chemicals — and fall, when you prepare the car for the cold months ahead.
- Light maintenance cleaning: If you live in a dusty area, drive on unpaved roads, or often park under trees, you might want to clean your engine bay more often — perhaps every 2–3 months.
- Dry cleaning / air blowing: A quick preventive session can be done every few weeks. Simply use compressed air or a detailing brush to remove dust, sand, and leaves. This simple habit keeps contaminants from accumulating in corners and helps you avoid a full wash too often.
- After noticing leaks: If you spot oil, coolant, or brake fluid, don’t wait — clean the affected area right away. It’s not just about aesthetics: dried fluids can damage hoses, paint, and even wiring insulation.
Regular upkeep pays off. The more consistently you clean, the easier each subsequent wash becomes — no more stubborn grime or sticky residue.
Conclusion: Engine Cleaning Myths Debunked
Now you know exactly how to clean your engine safely, efficiently, and with confidence. The process may seem intimidating at first, but with the right tools, products, and technique, it becomes just another satisfying part of caring for your car.
Remember: the goal isn’t perfection — it’s protection. Keeping your engine bay clean means preventing trouble before it starts, and ensuring that every time you open the hood, you see the pride and precision of a true car enthusiast.
